Jobe’s test, also known as the valgus stress test, checks the medial collateral ligament (MCL) of the elbow. This key ligament stabilizes the inner elbow and helps prevent excessive outward stress on the joint.
How to perform Jobe’s test:
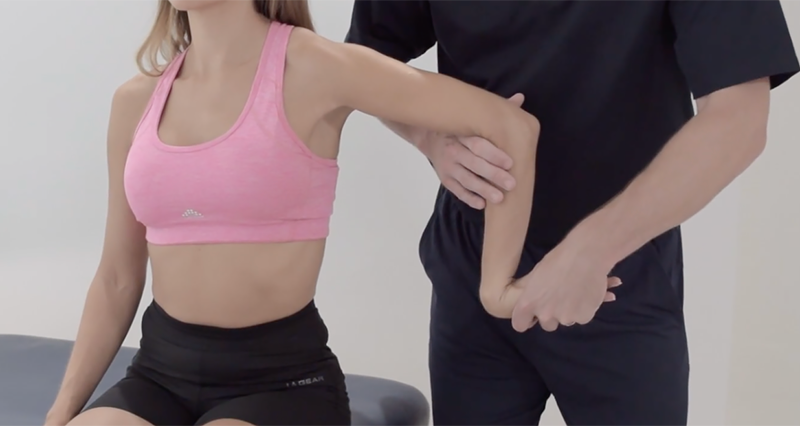
Sit or lie the patient down comfortably.
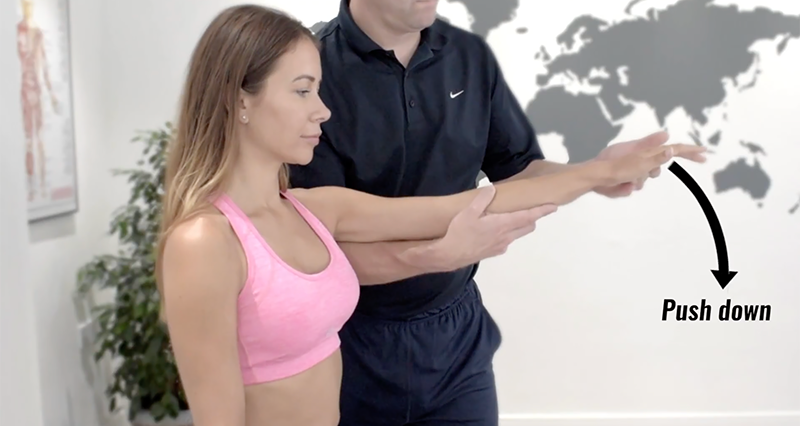
From behind, stabilize the patient’s upper arm and grasp the patient’s wrist.
Bend the patient’s elbow slightly to about 20-30 degrees.
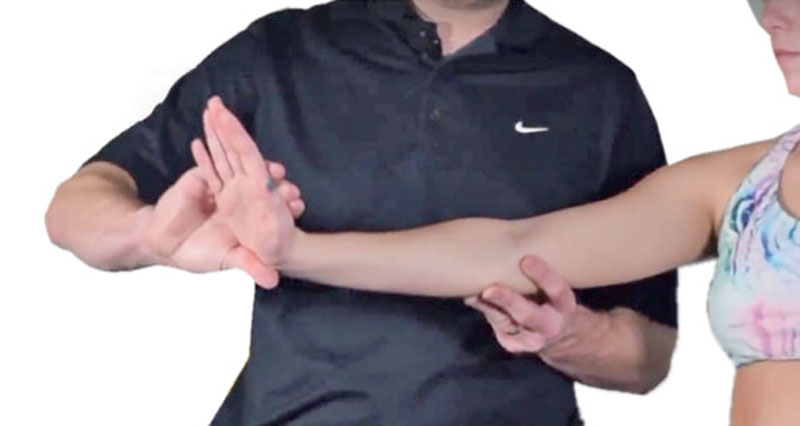
Keep the patient’s forearm neutral. Gently apply an outward force to the wrist while stabilizing the upper arm to test the MCL’s integrity.
During the valgus stress, observe the patient for any pain, instability, or discomfort. Focus particularly on the inner aspect of the elbow joint.
A positive test result occurs if the patient feels pain or instability on the inner elbow during the valgus stress manoeuvre. This suggests potential MCL injury or laxity.
Jobe’s test is valuable for assessing medial elbow instability, common in throwing athletes like baseball pitchers due to trauma, repetitive stress, or overuse. A positive result may lead to further evaluations like an MRI to confirm the diagnosis. Treatment plans could include rest, physical therapy, bracing, or sometimes surgery to repair or reconstruct the ligament.