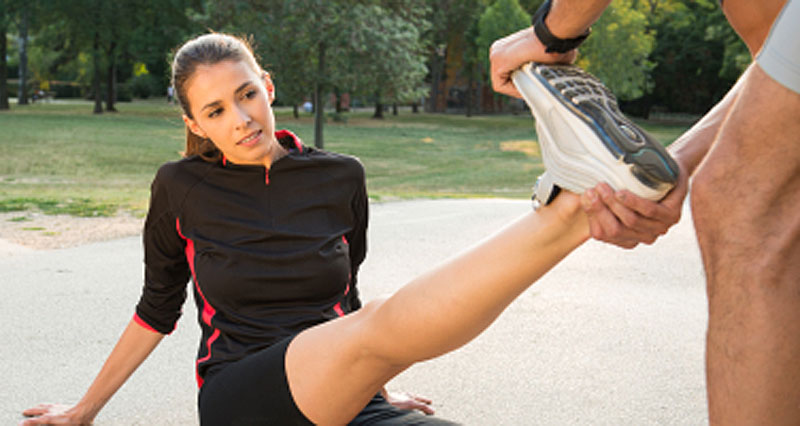
Sports massage is an in important part of treating and preventing soft tissue sports injuries. Here we demonstrate simple sports massage techniques and explain the benefits, effects, and contraindications of massage.
Contraindications
A massage contraindication is something that indicates massage could be harmful. Continuing with treatment may be more detrimental than beneficial and in some cases may cause serious medical problems.
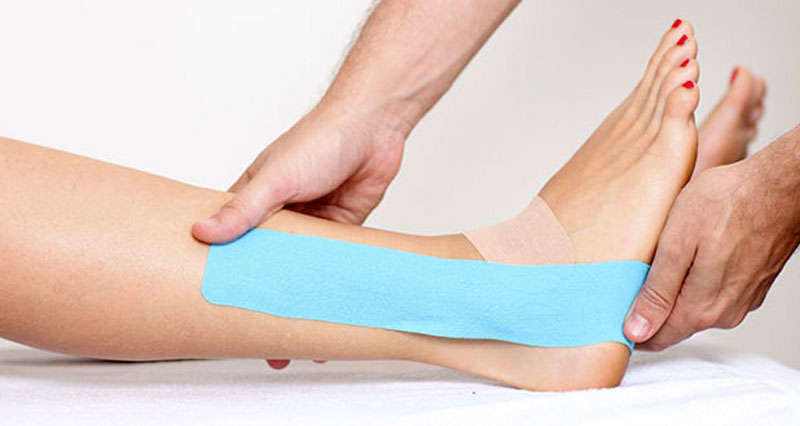
Lower Leg & Ankle Massage
We have the following lower leg and ankle massage tutorials:
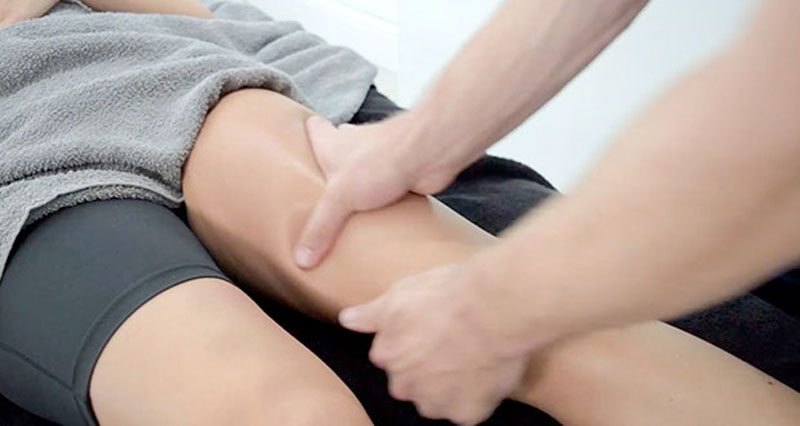
Calf muscle massage

How to use sports massage for the calf muscles. This is important for treating calf strains as well as maintenance and preventing range of lower leg overuse injuries.
Shin splints

Sports massage & myofascial release for shin splints/medial tibial stress may be beneficial after the first 3 days or so. It is important to avoid the bone as this may worsen symptoms.
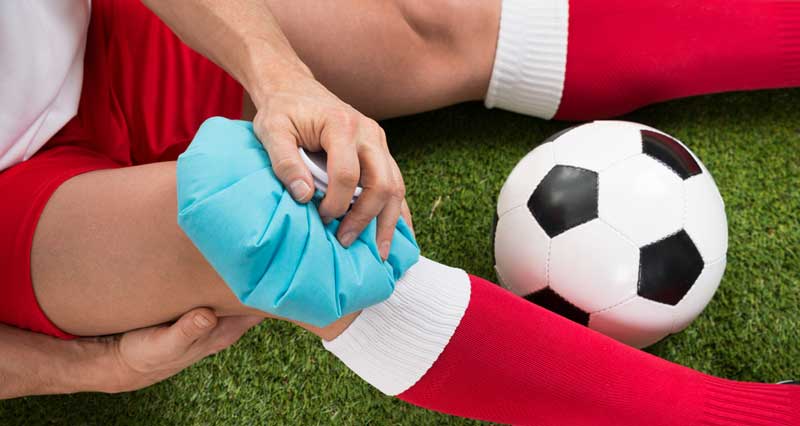
Ankle sprain

Cross-friction massage applied to ankle ligaments helps realign new scar tissue. Massage of the calf muscles also aids recovery.
Achilles tendonitis

Sports massage techniques for Achilles tendon pain mobilize the tissues and helps align scar tissue.
Knee Injury Massage
Jumper’s knee
Cross-friction massage for patella tendonitis (tendinopathy or jumper’s knee) helps to heal, especially chronic injuries.
Medial knee ligment
Cross friction massage for MCL sprains. How to apply massage techniques for treating medial knee ligament sprains.

Thigh & Groin Massage
Hamstring strain
Sports massage for pulled hamstrings begins after the acute stage. Light techniques, to begin with, become deeper as your injury heals.
Thigh/Quadricep strain
Sports massage for thigh strains is beneficial after the initial acute stage.
Groin strain
Groin strain massage is beneficial once the acute stage passes. Be careful not to use massage too early because you may increase bleeding, making your injury worse.
Shoulder & Elbow Massage
Tennis elbow
Massage for Tennis elbow is useful, particularly for more chronic cases. In particular, cross friction massage of the tendon insertion but only once the initial inflammation has settled (after 5 days).
AC joint sprain
AC joint sprain massage – cross friction massage techniques for the acromioclavicular joint at the top of the shoulder.

Massage Guns
Massage guns are mechanical devices designed to take some of the hard work out of deep tissue massage. They are ideal if you:
- Work in a busy practice and want to ease the strain on your hands
- Do not have access to professional massage
- Want a convenient way of getting massage benefits from home
Benefits of sports massage
The benefits of sports massage are physical, physiological, and psychological.