How to tape a sprained ankle using four simple ankle taping techniques depending on the level of support needed. These are figure of 8, stirrups, heel lock and basketweave. You can just apply a simple figure of 8, or stirrups taping. However, for more support use any combination of techniques with basketweave on top providing the highest support level.
The following ankle-taping techniques form part of our full sprained ankle rehabilitation program. They comprise:

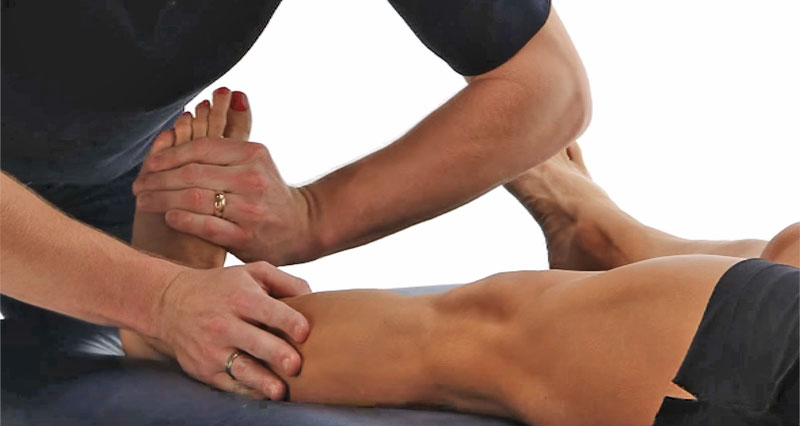
Equipment & materials for taping sprained ankles
- Adhesive spray (optional)
- Underwrap (optional)
- Elastic adhesive bandage
- Non-stretch zinc oxide tape (2.5cm)

How to tape a sprained ankle using the figure of 8 strapping
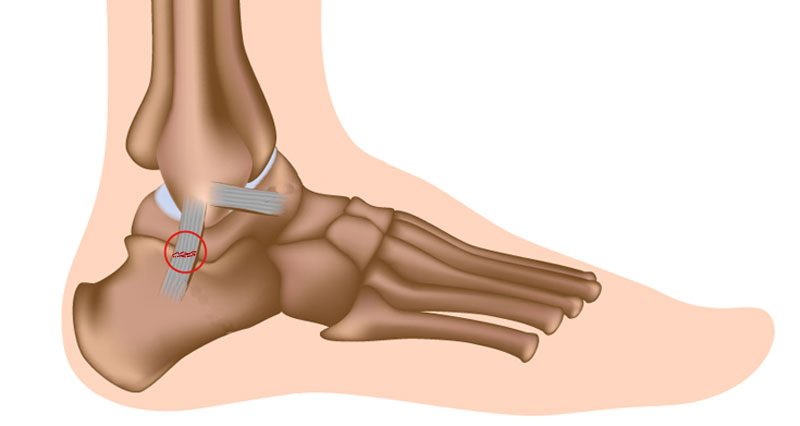
This is the first and probably least supportive stage of how to tape a sprained ankle. It protects either the lateral ligaments on the outside or the deltoid ligaments on the inside of the ankle. Most ankle sprains result in torn or stretched lateral ligaments on the outside of the ankle. Avoid creases in the tape, or gaps at the back of the heel as they may cause blisters.
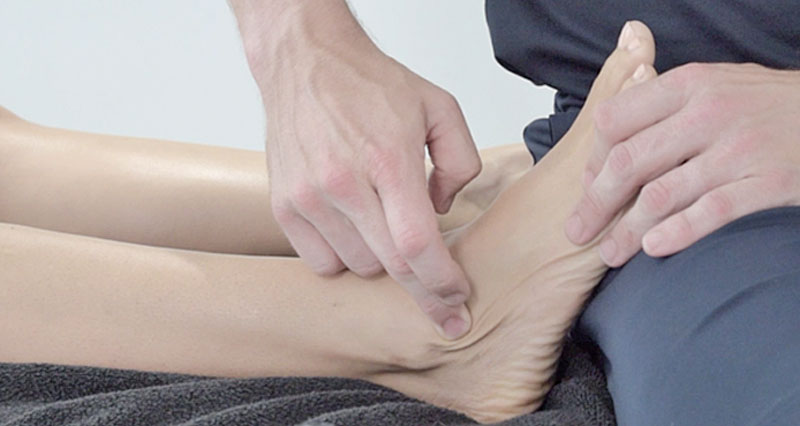
Part 2: Stirrups
Stirrup straps run down the inside of your ankle, under the heel and up the outside of your ankle. They are great for increasing lateral ankle stability, especially when combined with the figure 8.
Part 3: Heel lock
The third stage of ankle strapping follows a figure of 8 first stage is the least supportive followed by stirrup straps which protect the lateral ligaments. Any of these taping techniques can be used on their own as required all together for maximum support.
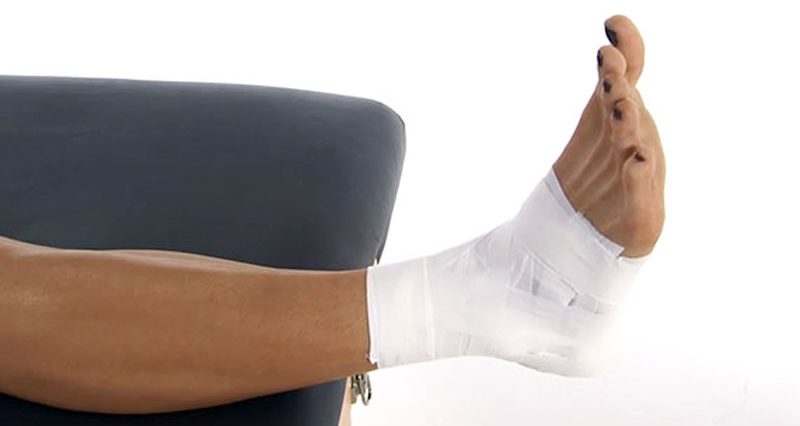
Part 4 – Basketweave
How to tape a sprained ankle using the basketweave technique. This is the most supportive of all of the ankle strapping techniques. It supports the lateral ligament complex on the outside and the deltoid ligament complex on the inside.
- Buy Zinc oxide tape for ankle taping at UPMedical.co.uk
- Buy Kinesiology tape for ankle taping at UPMedical.co.uk