Patella tendonitis exercises form part of our Patella tendonitis rehabilitation program. Created by elite sports physiotherapist Paul Tanner it includes stretching & mobility, strengthening, movement control and functional exercises.
What is Patellar tendonitis?
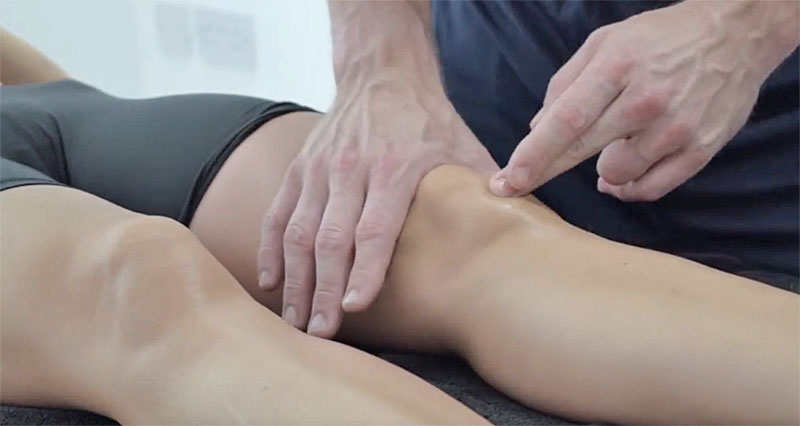
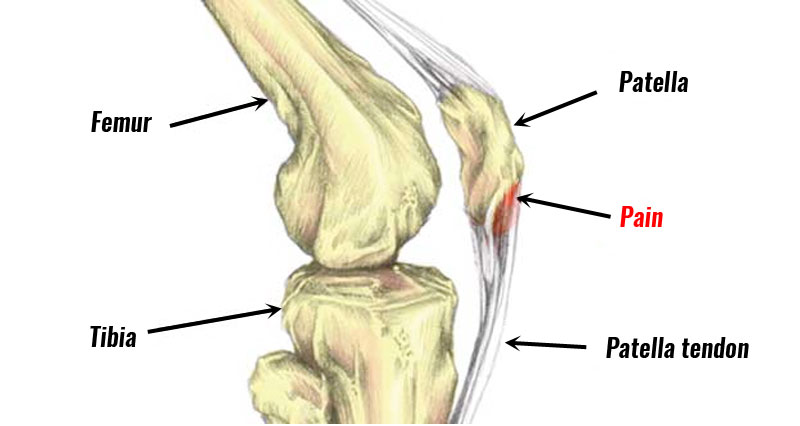
Patellar tendonitis or Jumper’s knee is inflammation of the patella tendon, usually at the point it attaches to the bottom of the patella (kneecap). Symptoms consist of gradual onset pain at the bottom of the patella. Most cases are chronic long-term overuse injuries. As a result, the term Patella tendinopathy is probably a more accurate term to use. This is because degeneration of the tendon, not acute inflammation occurs.
When can I begin Patellar tendonitis exercises?
You can begin Patella tendonitis/Jumper’s knee exercises as soon as possible. Initially, as this is an overuse injury the focus is on stretching and not loading the tendon with strengthening exercises.

Mobility and stretching exercises for Patellar tendonitis
Quadriceps stretching exercises in particular are important for recovering from Patellar tendonitis. We also include patella mobilisation in our full rehab program.
Patellofemoral mobes
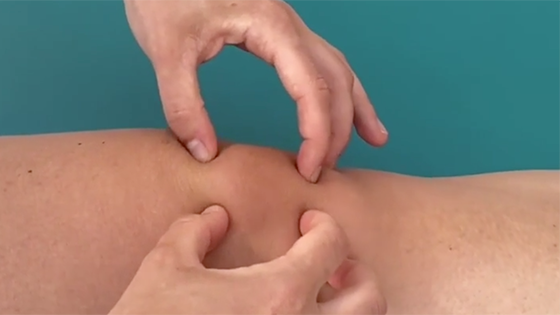
To mobilise the patella, gently push it from side to side. Also glide up and down from top to bottom. Usually 3 sets of around 30 seconds in all directions once a day is sufficient.
Quadriceps stretch
Quadriceps stretching is very important exercise for Jumper’s knee. Keep your knees together and gently pull your leg up. You should feel a stretch at the front of the leg which should not be painful. Hold onto something for balance if you need to or try holding your ear with the opposite arm. Hold the stretch for 30 seconds and repeat with a short break in between.
Other stretching exercises
In addition to specific patellar tendonitis stretches (such as quad stretches), our program also includes stretches for the hamstrings and mobility exercises for the ankle.
Strengthening exercises for Patellar tendonitis
These exercises specifically target your knee. The aim as you progress through the rehab program is to progressively increase the load through your patella tendon without aggravating it.
Isometric leg press
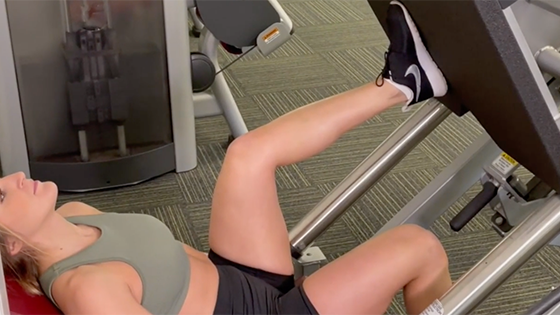
Isometric exercises mean no movement. Use a leg press machine if possible, or alternatively, hold a bent knee position on the edge of a step. Never go past 90 degrees of knee bend with this exercise as this places too much stress on the patella. Hold each rep for 45 seconds and aim for up to 70% of the maximum weight you can normally press. Start with the weaker/injured leg and do the same but no more on your stronger leg.
Heavy leg press for Patellar tendonitis
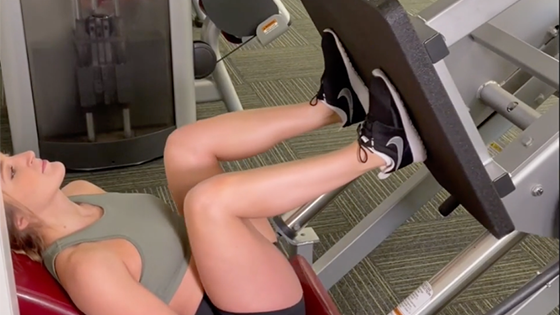
Leg press is the most important strengthening exercise in the later phases of our rehab program. A leg press machine is best, but you can do a weighted box squat as a substitute. Add weight so it feels like 70% of your max effort. Perform a slow controlled leg press (no more than 90 deg knee bend). Three seconds concentric (pushing up) and three seconds eccentric (lowering down). Therefore one rep should take 6 seconds.
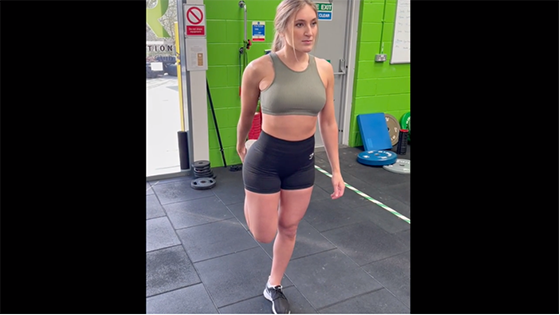
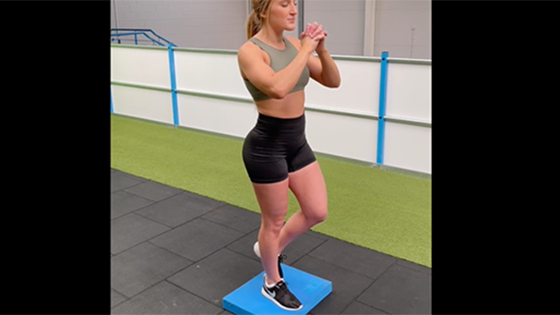
Step down counterbalance squat front
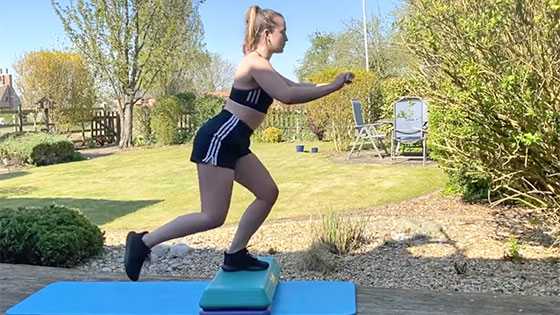
Step down squat to the front uses a pole or something similar to aid balance. Only drop as far as is comfortable and use a slow, controlled movement at all times. Make sure you do both legs, not just the injured one.
Hack squat
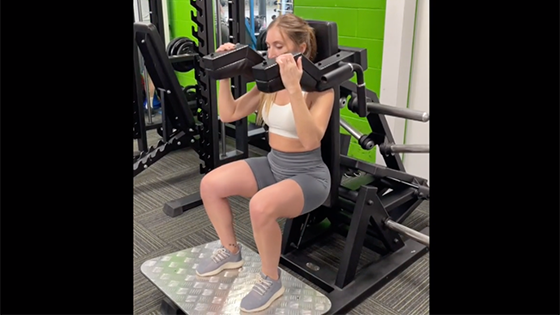
Perform slow repetitions. Each rep should be 3 seconds concentric (up) and then 3 seconds eccentric (down).
Decline single-leg squat
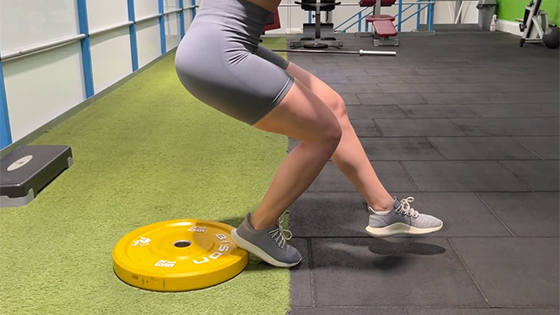
The aim of this exercise is to increase the load through the patella tendon. Studies show that single-leg squats at decline angles >15° result in a 40% increase in maximum patellar tendon force. Perform on a sloping board or raise your heels on a block or weights disc. Avoid bending the knee more than 60° as this puts larger forces through the patella. Wear a backpack to increase the load if required.
Eccentric leg press

The eccentric leg press focuses on the downward phase of the press, enhancing strength and muscle control by slowing down the movement. Push up with both legs and lower slowly with one leg.
Eccentric knee extension

To do this exercise you need access to a leg extension machine at a gym. Eccentric Knee Extension targets muscle lengthening by focusing on the controlled lowering phase, strengthening the quadriceps effectively.
Other exercises
Other Patellar tendonitis strengthening exercises included in our Jumpers knee rehabilitation program include ankle exercises and activation exercises to keep your hip muscles firing.
Movement control exercises for Patellar tendonitis
These exercises improve your proprioception. This is your body’s ability to sense where parts of it are in space. When you are injured, your proprioception is often damaged. Therefore it is important to do these exercises as part of a Patellar tendonitis exercise program.
Single leg balance
Single-leg stand, balancing on one leg, is a movement control exercise good for the ankle and knee; have arms by the chest or out to the side. Stand on one leg for 20 seconds and repeat 4 times. If this is too easy then close your eyes to make it even more difficult.
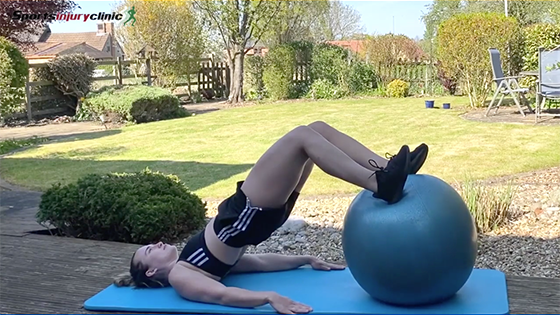
Gym ball bridge
Functional exercises for Patellar tendonitis
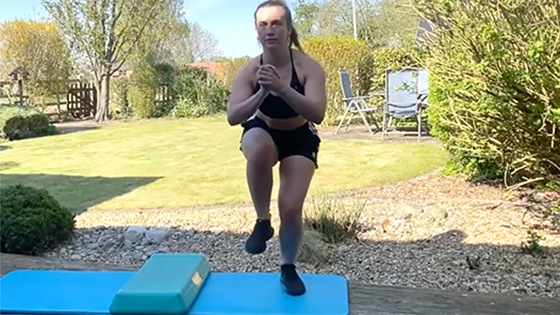
Box jump to outside leg

Box jump is a plyometric exercise. Jump off the box from 2 feet landing on your outside leg. Maintain control of the landing. Hold or ‘stick’ the final position to prove you have control.
Lateral box jump
Lateral box jump – Step sideways over the box, placing both feet on top each time. Keep light and fast on your toes.
Meet the program author
Paul Tanner
Paul is head of Medical Services at Millwall Football Club, dealing with all aspects of match and training day sports physiotherapy and medical cover.
His career also includes First Team Physio at Norwich City Football Club and Senior physiotherapist to London Wasps Rugby first-team squad.