How to Tape an MCL Sprain (Knee Taping Technique)
MCL taping is used to support and protect the inside of your knee following a medial knee ligament (MCL) sprain. This knee taping technique helps limit sideways movement and reduce strain on the injured ligament. It is particularly useful in the early stages and when returning to sport.
Taping can help support your knee, but it does not replace a structured rehabilitation plan. To fully recover from an MCL sprain and reduce the risk of reinjury, you need to restore strength, stability, and movement control.
Our MCL sprain rehabilitation program guides you step by step from early-stage recovery through to full return to sport, with clear daily exercises and progress tracking.
How to tape an MCL sprain
This guide shows a general knee taping technique suitable for all knee ligament injuries. You can adapt it to target an MCL sprain by adding extra support strips on the inside of the knee. This helps protect the medial ligament and limit sideways movement.
When should you tape an MCL sprain?
Use MCL taping:
- In the early stages to protect the ligament
- During activity or sport for added support
- When returning to training to reduce reinjury risk
Aim of MCL taping
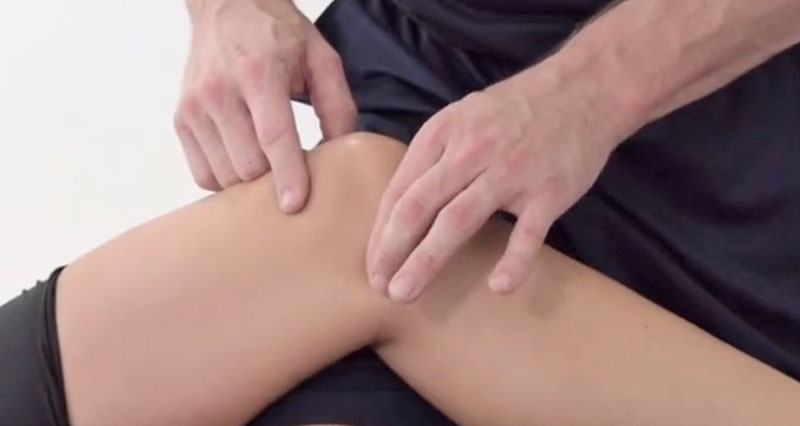
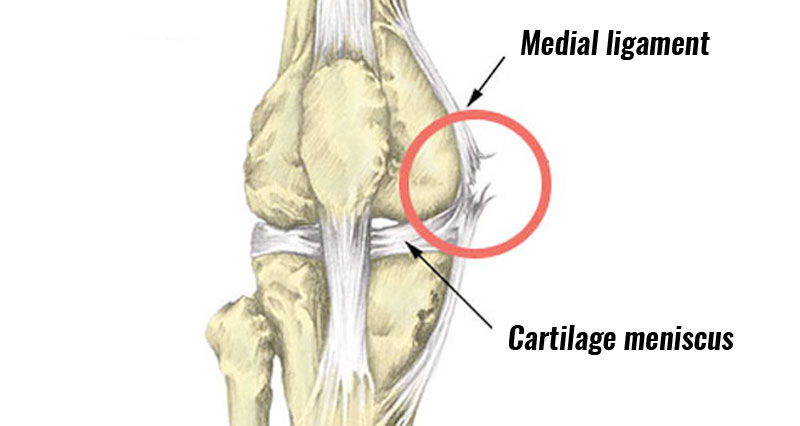
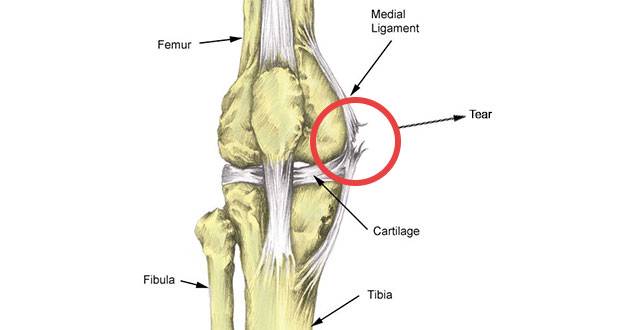
Taping helps protect the medial ligament on the inside of your knee following an MCL sprain. The aim is to limit sideways (valgus) movement, reducing strain on the injured ligament and allowing it to heal.
In effect, the tape acts as an external support, helping to control knee movement and improve stability.

MCL support taping
For MCL taping, add extra support strips to the inside of the knee to help limit valgus (sideways) movement and protect the ligament.
All taping techniques follow the same basic principles.
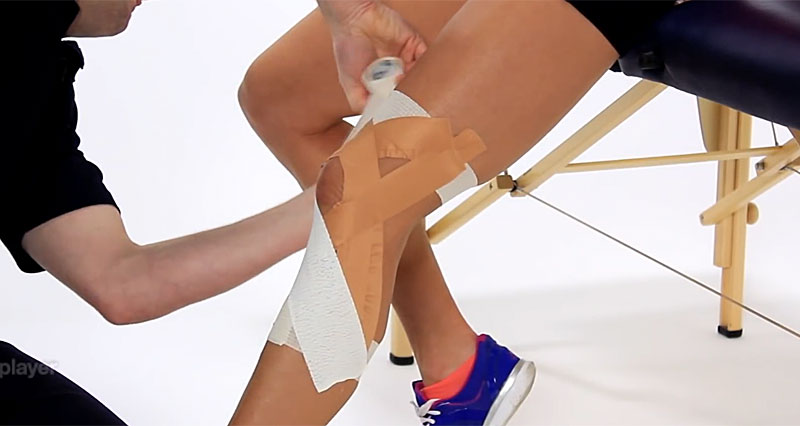
Step 1 – Anchors
Place anchor strips around the lower leg and above the knee. Use elastic tape for the anchors to allow for movement as your muscles expand during exercise.
Step 2 – Support strips
Apply support strips between the anchor strips. For MCL sprains, place additional strips along the inside of the knee to help resist valgus forces and improve stability.
Step 3 – Reinforcement
Add extra overlapping strips where needed to increase support on the medial (inner) side of the knee.
Step 4 – Finishing strips
Apply finishing strips in the same way as the anchors. These secure the support strips and keep the tape in place.