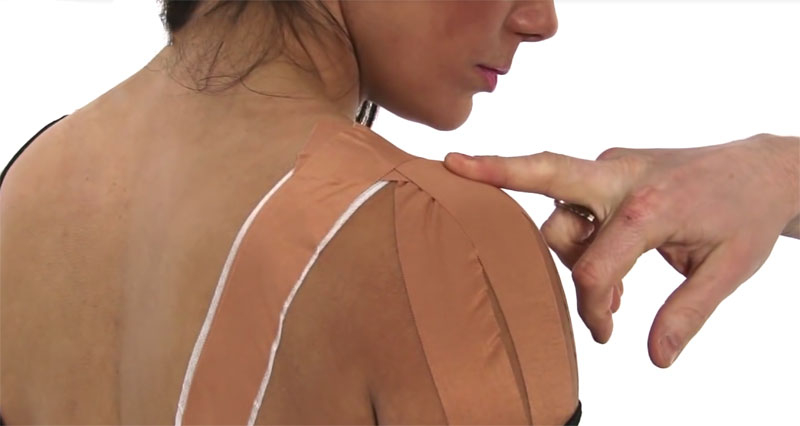
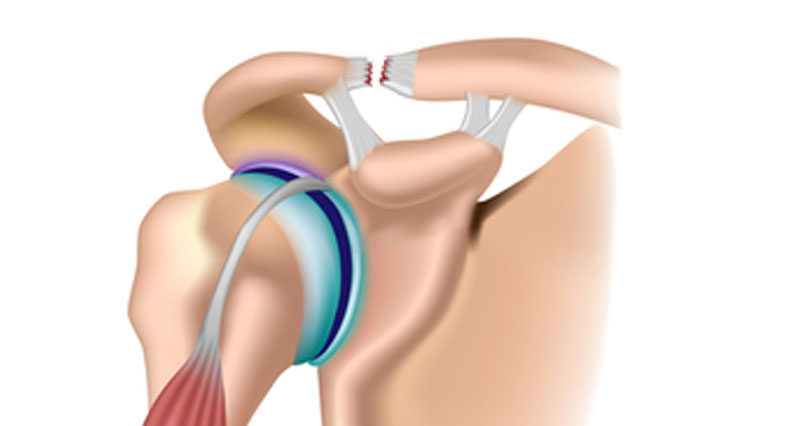
AC Joint Separation Exercises

Rehabilitation of an AC joint sprain or separation will depend on the severity of the injury. The video below outlines a possible approach to rehabilitation.

The following guidelines are for information purposes only. We recommend seeking professional advise before attempting any rehabilitation programme.

AC joint separation exercises should begin when the ligament has healed and there is no pain. Shoulder mobility exercises as well as shoulder strengthening exercises are important.

AC Joint Sprain Rehab

This is easily lost if the athlete has suffered an injury of the shoulder for any length of time. In particular the shoulder blade (scapular) and upper arm bone (humerus) should move together. In the injured athlete this 'rhythm' is often lost.

Following a period of icing and immobilisation for grade 1 & 2 injuries, mobility exercises as below can be undertaken, but only once shoulder movement is pain free (normally 7-14 days for grades 1 and 2). Grade 3 injuries are now more frequently being treated with conservative treatment, rather than surgery. However, due to the extent of damage it is highly recommended to see a Sports Injury Specialist or Doctor.

Mobility exercises

Pendulum exercises

  • Gently swing the arm forwards, backwards and sideways whilst lying on your front or bent over as seen opposite.
  • Gradually increase the range of motion. This is repeated with the arm swinging from side to side as well. Aim to reach 90 degrees of motion in any direction.

Front of shoulder against a wall or doorframe

  • Place one forearm on a fixed point such as a doorframe or corner of a wall and gently turn away from it to stretch the front of the shoulder.
  • Hold the position for 10 to 20 seconds and repeat 3 times. The athlete should feel a gentle stretch in the front of the shoulder but not pain.

External rotation stretch

  • The patient lies on their back with the upper arm at 90 degrees to the body and the elbow bent so the hand points to the ceiling.
  • A partner or therapist rotates the arm at the shoulder, so that the palm of the hand faces up as shown.
  • Hold the position for 20-30 seconds, rest and repeat 3-5 times.

Stretches can be done on a daily basis assuming there is no pain. Stretching must be done regularly and continued throughout the rehabilitation process.

Strengthening exercises

Strengthening of the muscles surrounding and supporting the shoulder can begin in line with the mobility exercises as shown above, as long as the shoulder remains pain free. Strengthening should initially be isometric, meaning contracting the muscles without movement:

External rotation

  • Stand side on to a wall, with your upper arm by your side and the elbow bent to 90 degrees.
  • Place the back of the wrist against the wall and try to rotate the arm at the shoulder, against the resistance of the wall so there is no movement.
  • Start off applying a gentle pressure and gradually increase how hard you push.
  • Hold for 10 seconds, rest for 3-5 and repeat up to 10 times.

This same principle can be applied for several different exercises:

Internal rotation

  • With the arm in the same position, rotate your body to face the wall.
  • Place the front of the wrist against the wall (around the corner) and try to rotate your arm towards you.

Abduction

  • Again, standing side-ways on to the wall, straighten the elbow; place the back of the wrist and hand against the wall
  • Try to push the wall away as if lifting the arm out to the side.

After a week of pain free mobility and isometric strengthening exercises, strengthening can be progressed. Stretching should continue throughout this phase. An excellent piece of equipment to use to strengthen the shoulder is a resistance band. Exercises can be progressed to isotonic, using resistance in a number of ways, with one piece of equipment.

External Rotation

  • Attach the band to something stable as shown, holding one end, with the upper arm fixed against the body and the elbow bent.
  • Pull the band so that the hand and forearm move away from the body whilst keeping the elbow against your side.
  • Perform 3 sets of 10 repetitions with a minute rest between sets.

When using resistance bands start using a long length, if it is too easy you can shorten the band to provide more resistance.

Internal Rotation

  • This is the exact opposite movement to external rotation.
  • With the same starting position, pull your hand in, towards your stomach, again keeping the elbow by your side.
  • Note you will have to turn yourself around to apply resistance to the exercise so that you are pulling the band from your side, across your body.

Lateral Raise

  • Still using the resistance band, stand on one end of the band, with the other end in your hand.
  • Keeping the elbow straight, pull your hand up to level with your shoulder ensuring you maintain a good posture throughout.
  • Again perform 3 sets of 10 repetitions. This can be performed just as easily with a small dumbbell.

Return to Sport

  • Before returning to any type of sport following an AC joint injury there should be a full pain-free range of motion
  • On return to contact sports, protection can be provided by padding the joint with a circular piece of padding with a hole cut in the middle which should be centered over the joint. This can be kept in place with bandaging or a shoulder support
  • Stretching, mobility and strength exercises should be continued throughout the return to sport phase