Ankle Sprain Rehabilitation
By Phil Pask
A step-by-step Ankle sprain rehabilitation program for acute and chronic ankle sprains. Criteria-based, we take you from initial injury to full competition fitness.
It is based on what Phil would do with his International players but adapted for use by anyone. Progress through 4 phases at your own pace, meeting specific criteria before moving on.
Available on:


Suitable for:
Ankle sprains
Level
From beginner to elite level
Time required:
10 – 30 mins daily
Play Trailer
Recover even stronger!
We don’t just aim to heal your sprained ankle with the program, but enable you to come back even stronger than before.
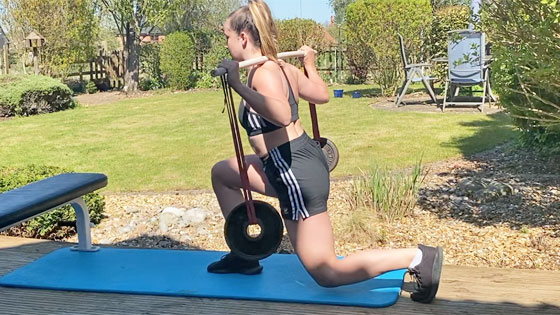
Our Ankle sprain rehab program includes mobility & stretching, strengthening, movement control, functional and activation exercises to prevent loss of fitness and function whilst recovering.
It is also suitable for those who may have recovered from Ankle injuries but wish to go further with their rehab to help prevent future injuries.
Sprained ankle rehabilitation includes:
Treatment & healing
This covers how and when to apply treatment such as cold therapy & compression, heat, massage, and taping.
Ankle sprain rehab exercises
Over 60 different exercises with video demonstrations covering mobility & stretching, activation, strengthening, motion control/proprioception, and functional.
Expert guidance
Throughout the program, Phil explains the aims of each phase and where you need to be before you can progress onto the next level.
Priority support
If you have any questions about the program or your progress then get in touch with our qualified sports therapist for advice.
Meet the program physiotherapist
Phil Pask
Phil is one of the World’s most experienced Sports Physiotherapists. He has been England Senior Rugby Team Physiotherapist since 1997, continuing his role in recent years as Consultant Physio to the team.
He was a player, physio, and head of performance at Northampton Saints from 1986 – 2002.

Go mobile!
Our sprained ankle rehabilitation app tells you what treatment and exercises to do each day and tracks your progress.
- Video based programs
- Set alerts & reminders
- Records daily progress
Download now!

Program content & structure
The program consists of 4 phases and a 5th injury prevention/mitigation phase:
Phase 1 Ankle sprain rehabilitation
Stage 1 begins immediately following injury and usually continues for up to 2 weeks. The first 24 hours is the ‘bleeding’ phase.
The aim here is to control pain and stop the bleeding in the joint.
Phase 2 Ankle sprain rehabilitation
Stage 2 is an intermediate phase lasting approximately 2 to 3 weeks.
The aims of phase 2 are to restore normal function, global stability control, and begin to progressive load the ankle.
Phase 3 Ankle sprain rehabilitation
Stage 3 is the main rehabilitation phase and begins a minimum of 2 weeks following injury.
Phase 4 Ankle sprain rehabilitation
Stage 4 is the end stage involving more sports-specific training.
Sign up now for FREE!